Keezer

Why and How
Every college house has a few beers in the fridge. The most dedicated students may even have a separate mini fridge. The select few who take their beer as seriously as their education, inevitably, build themselves a keezer.
The August of 2024, a perfect storm was brewing for such a contraption. My roommate Will Powers considers himself a beverage connoisseur. I consider myself a Facebook Market connoisseur who has a friend who owns power tools. I came in with experience making kombucha and mead, my roommate with experience brewing lagers and IPA's. Thus, we (more like I) decided to make a dedicated fridge for our beveraging pleasure.
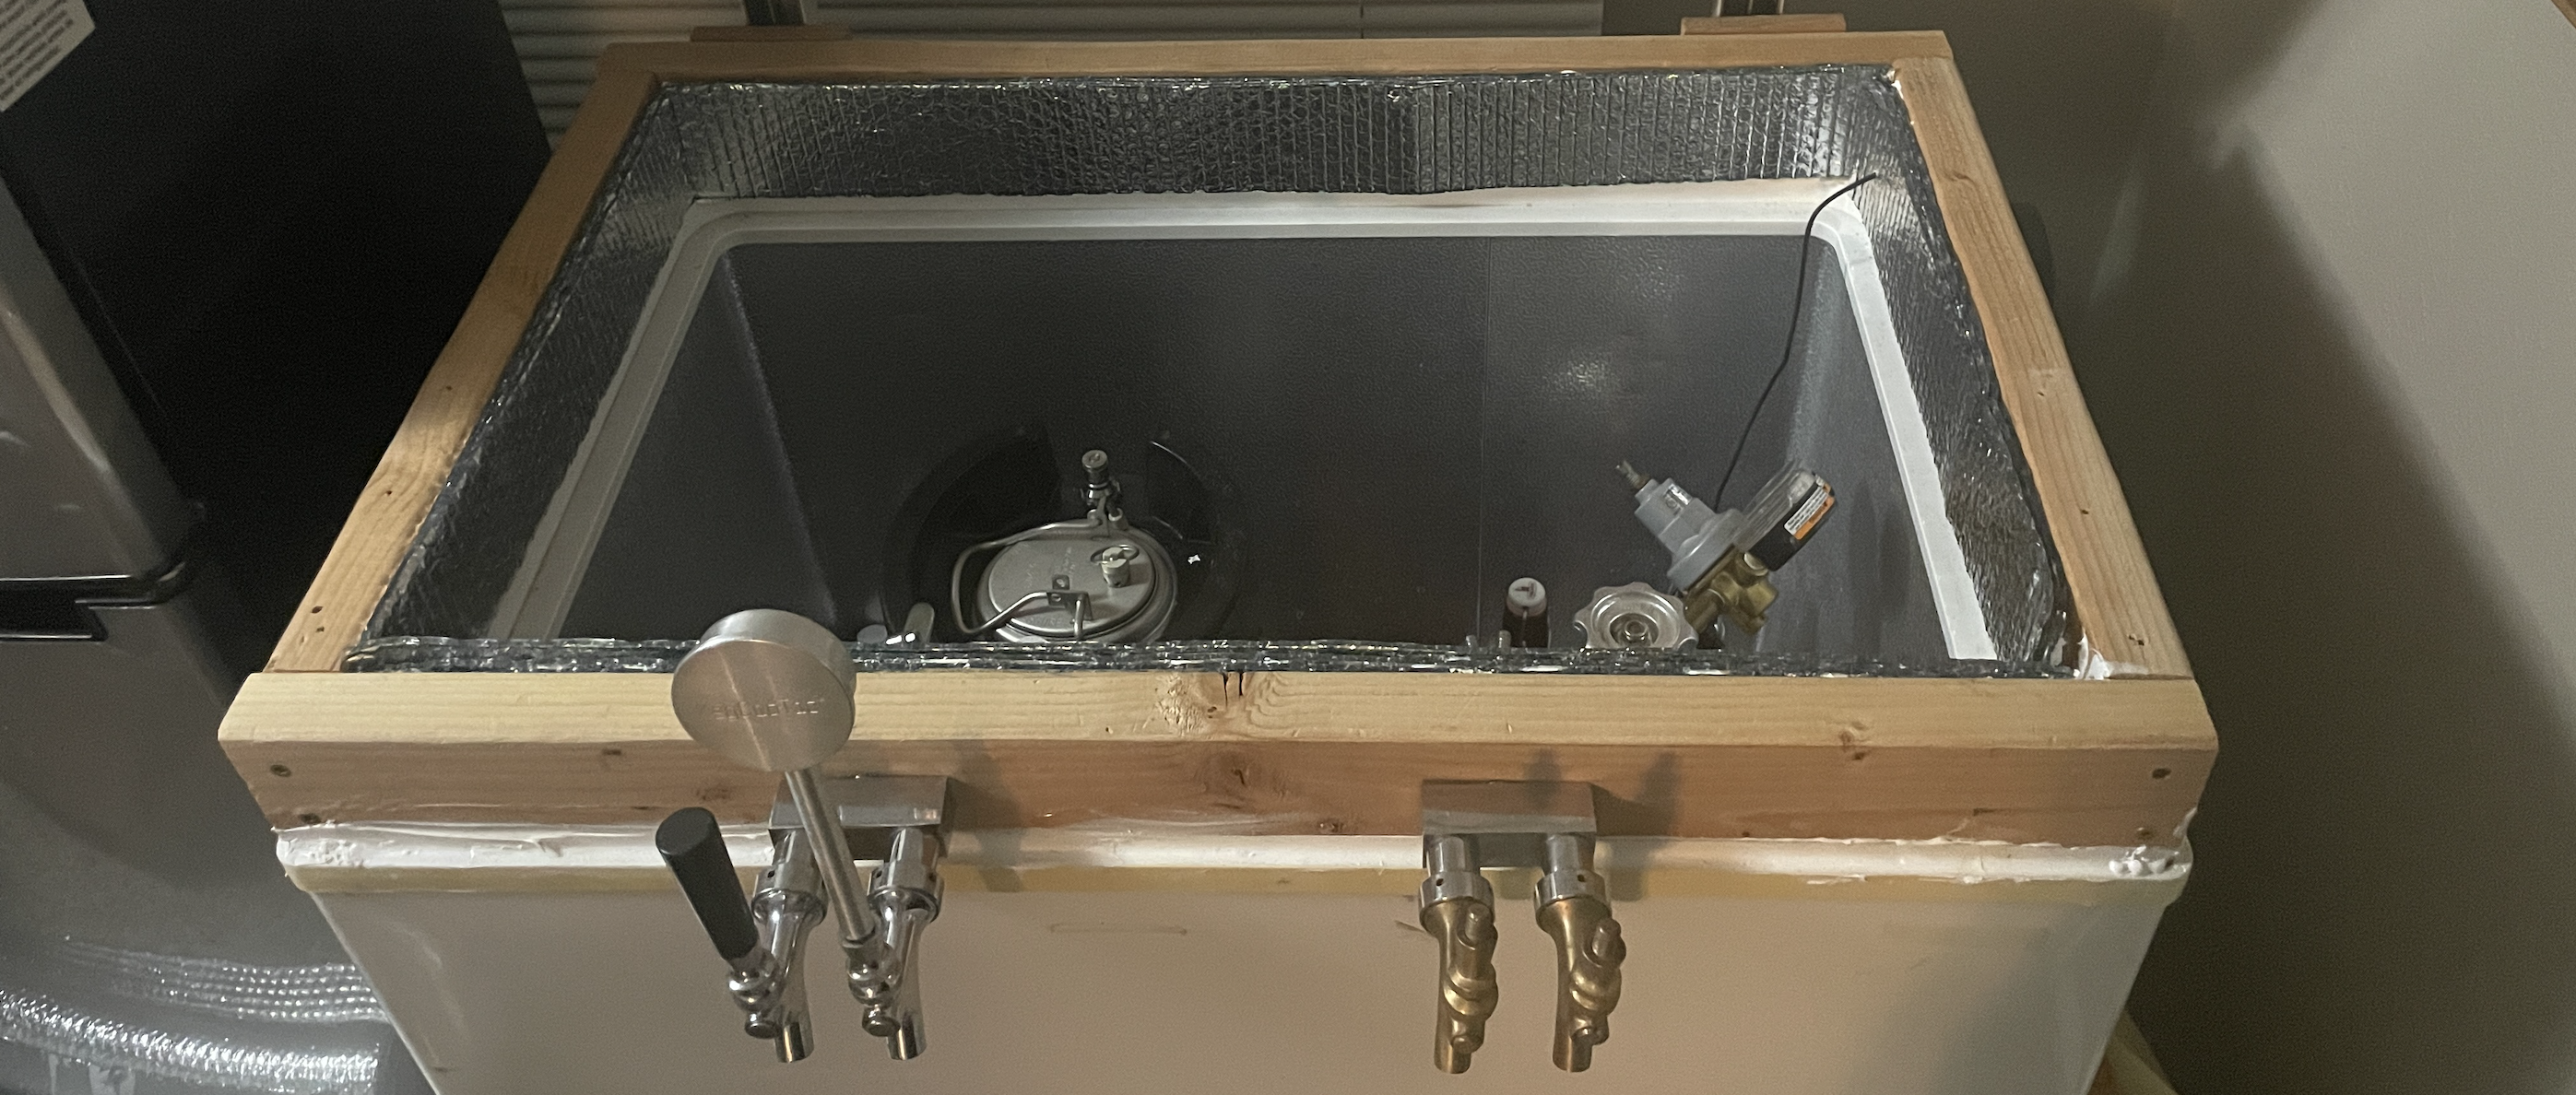
The basic idea of a keezer is to take a fridge, put a keg inside it, and cut a hole in the side to attach a faucet for easy pouring. A chest freezer is preferred for a few reasons; it is more space efficient, more energy efficient, and easier to modify. Because the lid is on top (as opposed to a fridge or mini fridge), the cold air will sink to the bottom of the fridge, so when the lid is opened the air does not easily escape. Additionally, we can attach a wood collar to the freezer, which will allow us to drill holes for our faucets through the collar and not directly through the side of the freezer. This keeps the freezer intact and doesn't risk damaging insulation or coolant lines. The wood collar modification is the bulk of this project.
August was a fantastic time for doing this project, because Facebook Market is riddled with deals this time of year. With a bit of searching, patience, and haggling, we had an affordable setup. Below is a list of our materials and prices:
- 4 5-gallon corny kegs: $100
- CO2 canister, regulator, gas lines, clamps, 2 double faucets, 1 single faucet, 2 couplers, and drip tray: $100
- Chest freezer: $70
- New liquid lines: $10
- Silicone caulk and insulation: $20
- Wood and screws: free (thanks Bern)
- Total: $300
Split between a few friends, the usefulness, convenience, and novelty of our keezer will more than cover our investment. Below is a slideshow to showcase our build process.