By Cole Rutkowski
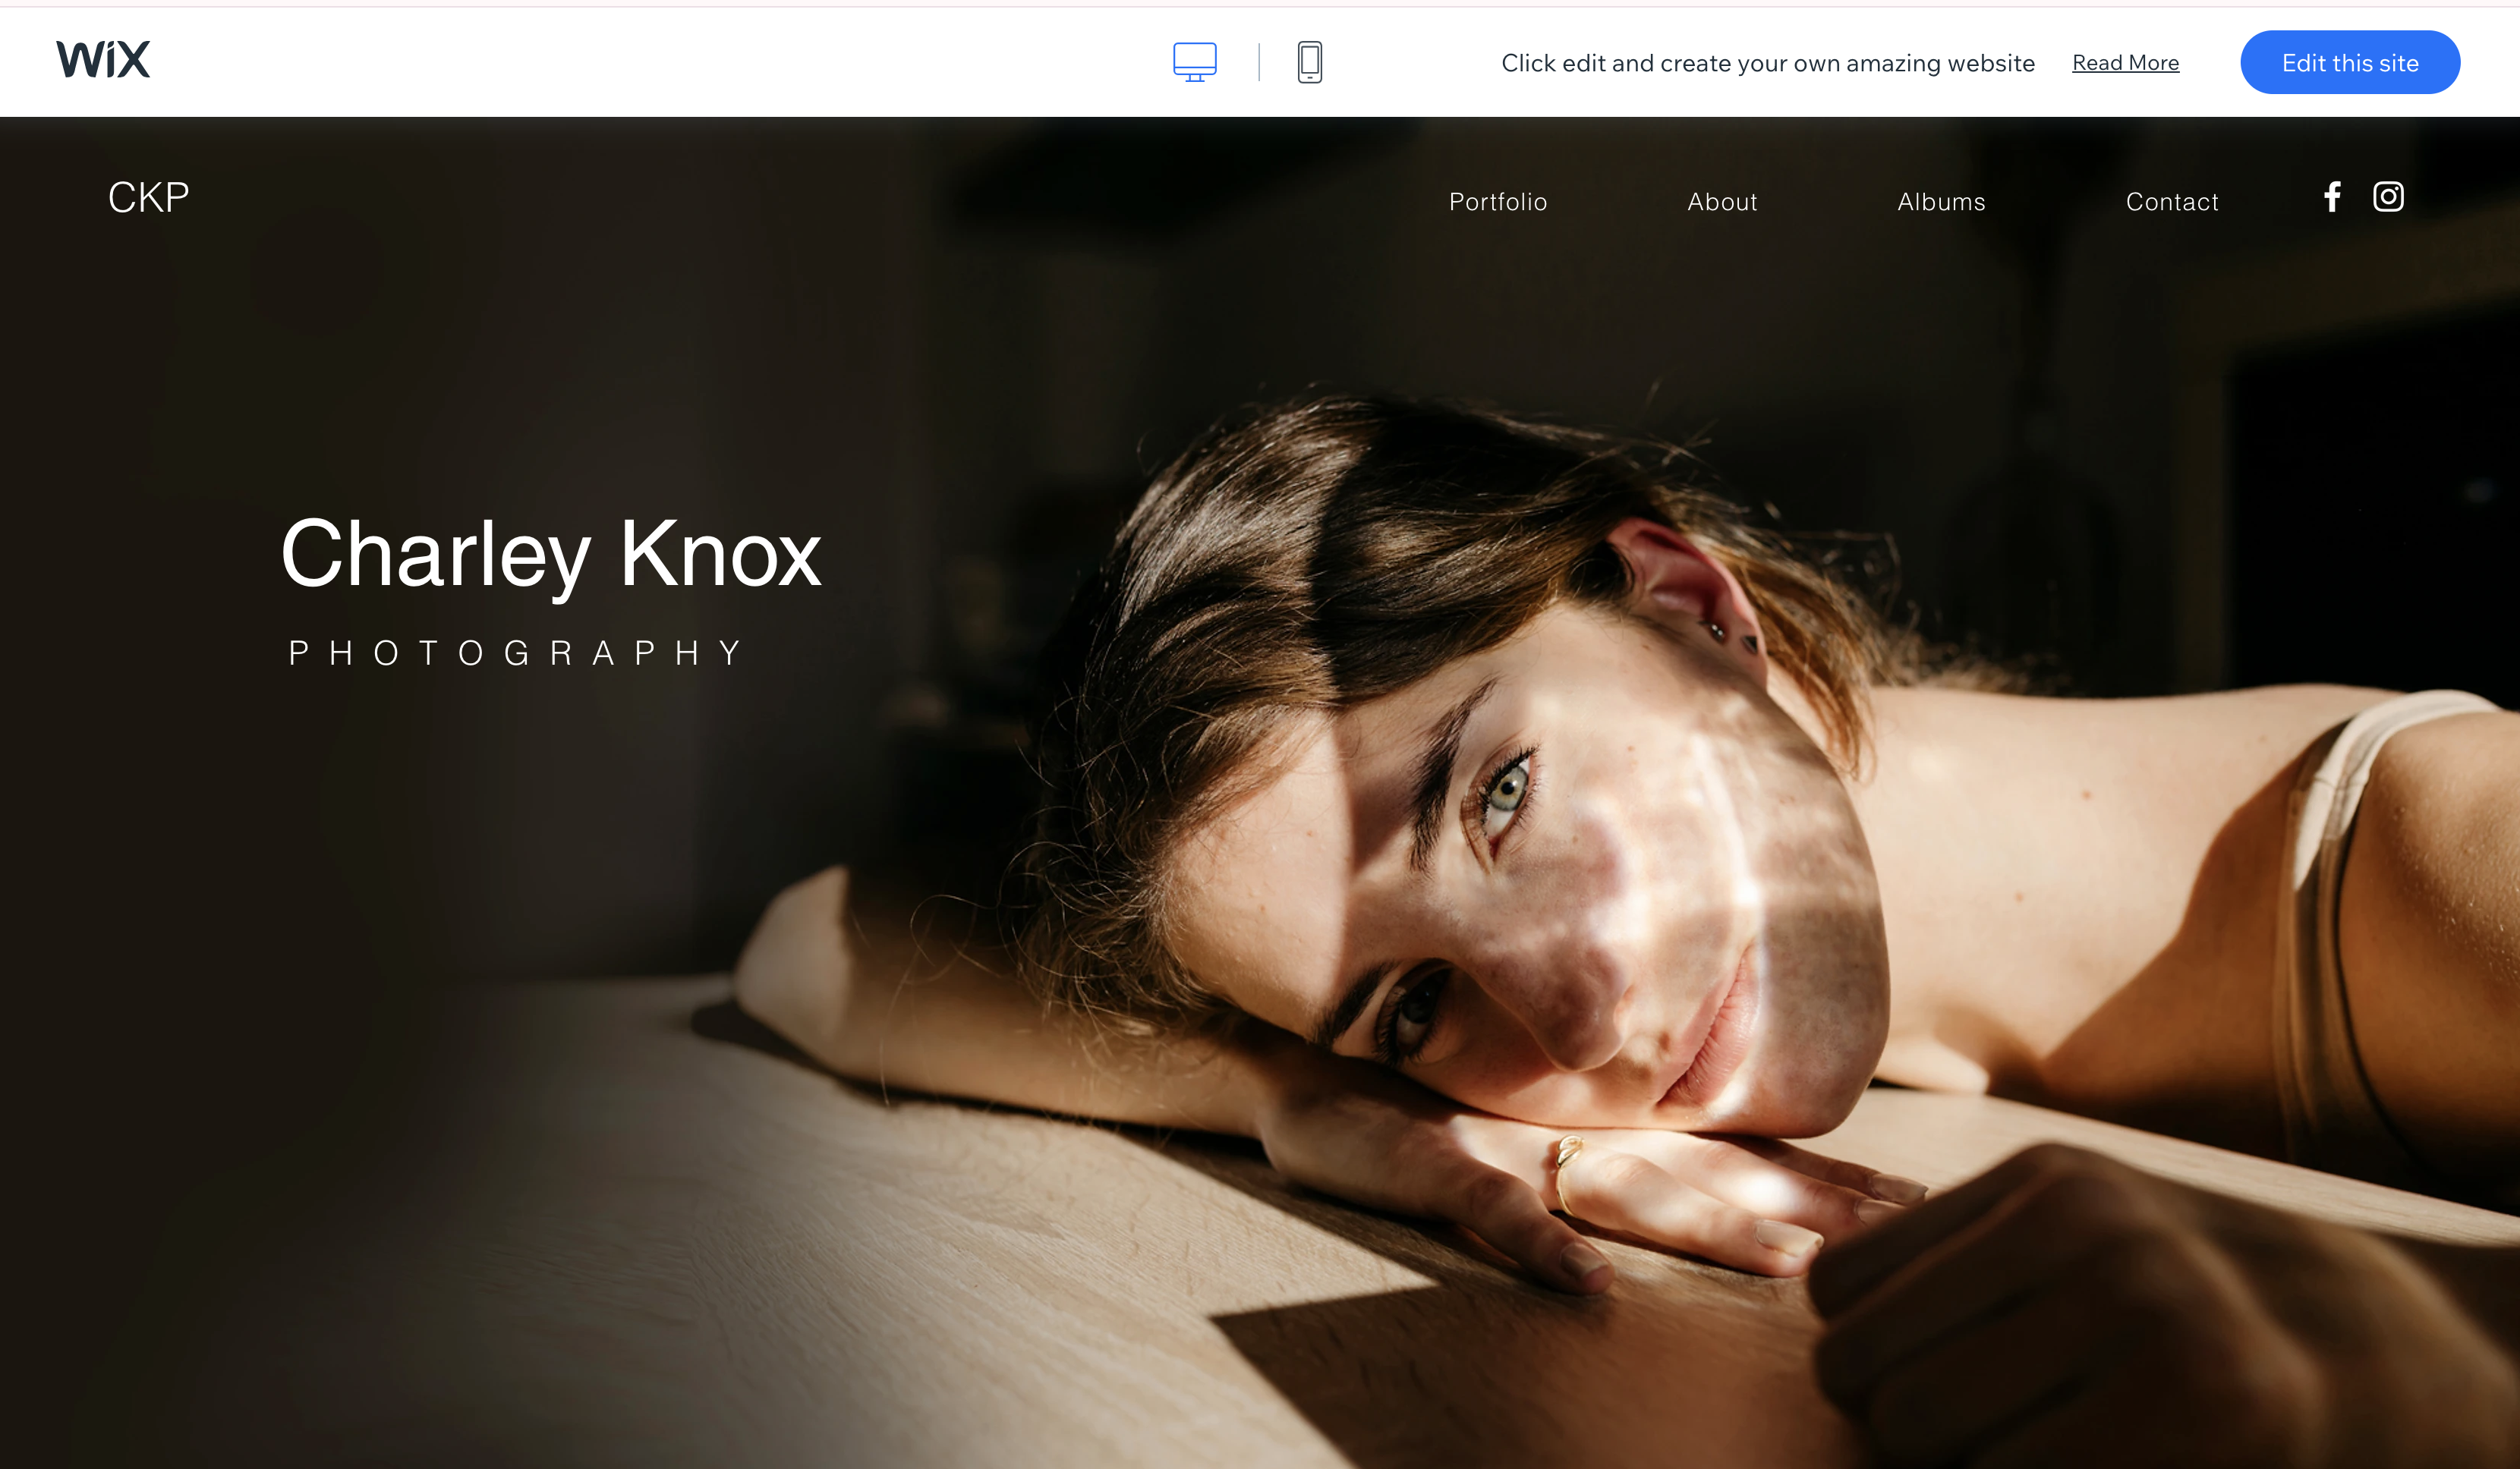
I chose to create my own portfolio website because I wanted to showcase my projects and reports in a personalized and detailed format that can’t be achieved on a resume. I found inspiration in coding it myself after stumbling upon several student portfolios while doing research for my projects. Some had used website-building sites like Wix, while the oldest (and most rudimentary) sites appeared to be self-made. Since I was already trying to showcase my skills and projects, I was drawn to the idea of coding this site myself, which could also serve as an entry on my portfolio!
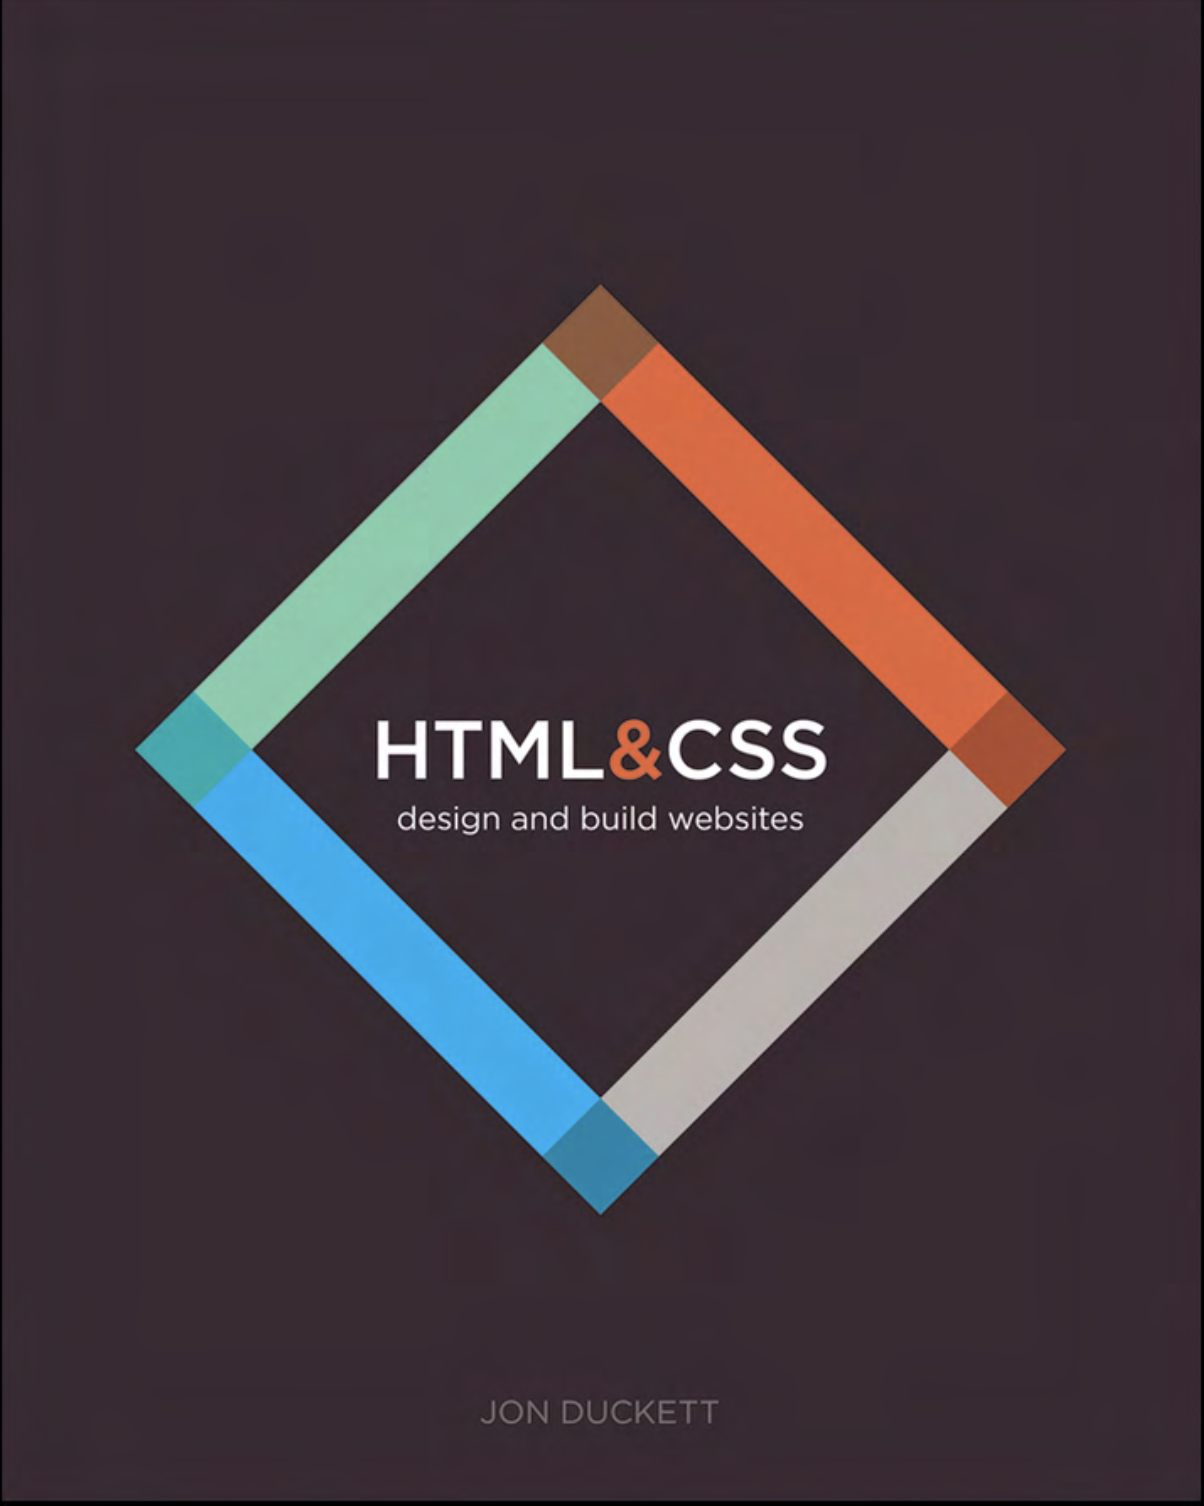
I came into this project knowing *literally* nothing about designing, coding, or hosting a website. I had taken one coding class in C++, but had no outside experience in any other language or capacity (I made a few Scratch games in middle school). My first google search was “how to make a website” (which only gave me Wix and SquareSpace results) followed by “language to code website”. After learning that HTML was actually a coding language, the next most obvious thing was to look up a textbook about it. I mostly read/partially skimmed through all 500 pages of the 2011 HTML & CSS book by Jon Duckett I found (the pdf was free). This gave me a good grasp of some basic concepts without actually doing any coding yet.
Free Textbook
Inspiration for Cover Page
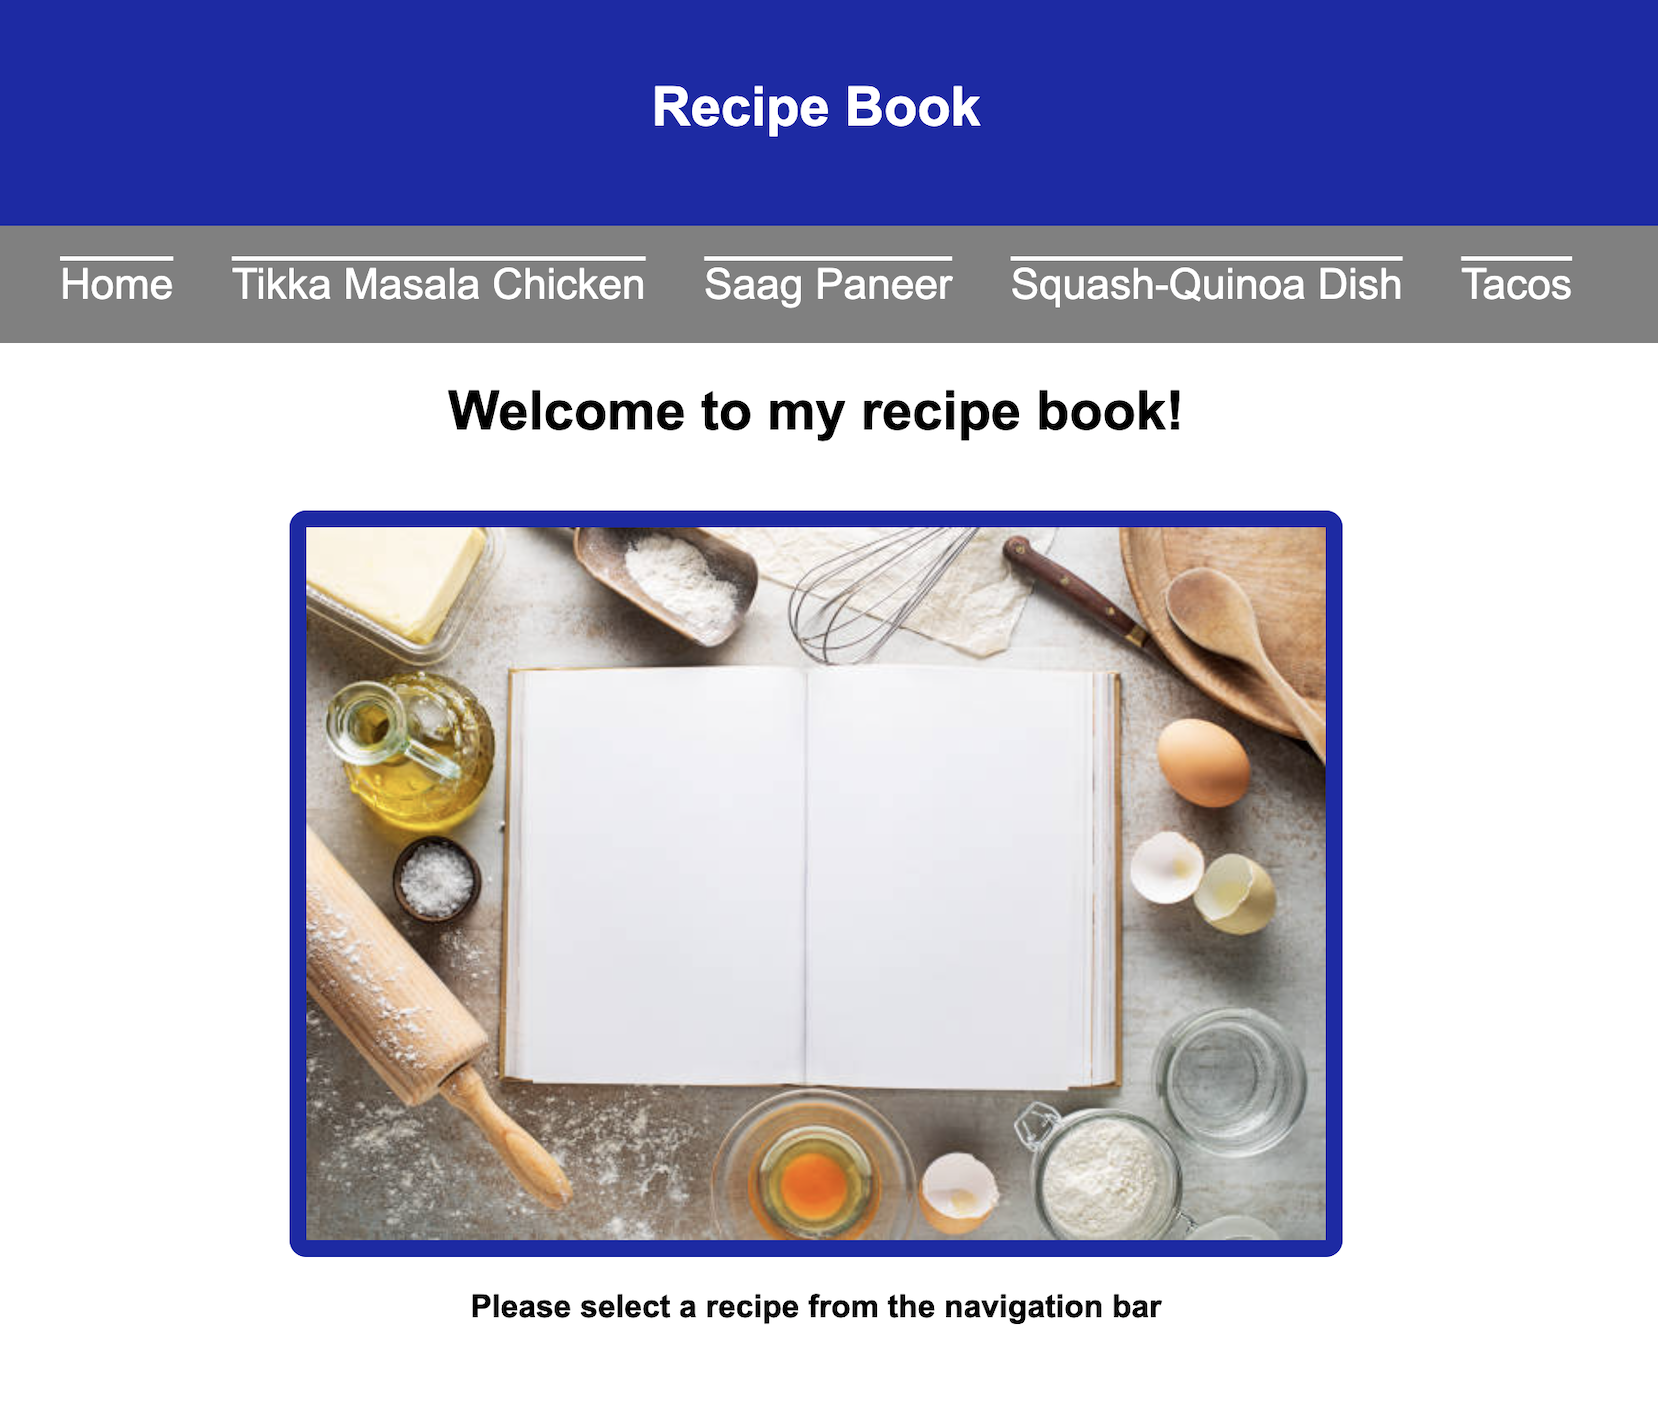
I didn’t want to jump straight into my real portfolio website since I hadn’t written any code in HTML or
CSS at this point, so I decided I should start with a practice site. I cook a good bit at home, so I
thought of putting some of my hand-written recipes into my own recipe book webpage! This would be a great
starting page, as it would require minimal CSS code and I could practice some basic elements like ordered
and unordered lists, inserting images, and linking sites.
I first found a simple HTML site online and manually typed the code into VSCode. This gave me an idea
of how to structure my code, as well as how to use CSS in practice. I played around with a lot of CSS styles
and block elements and did a lot of Googling along the way to get a grasp of how to style the site. I then
set out to make my recipe book, using the previous code as an outline. After a few days' work, I had completed
my site with four recipe entries! I was finally ready to start my portfolio…
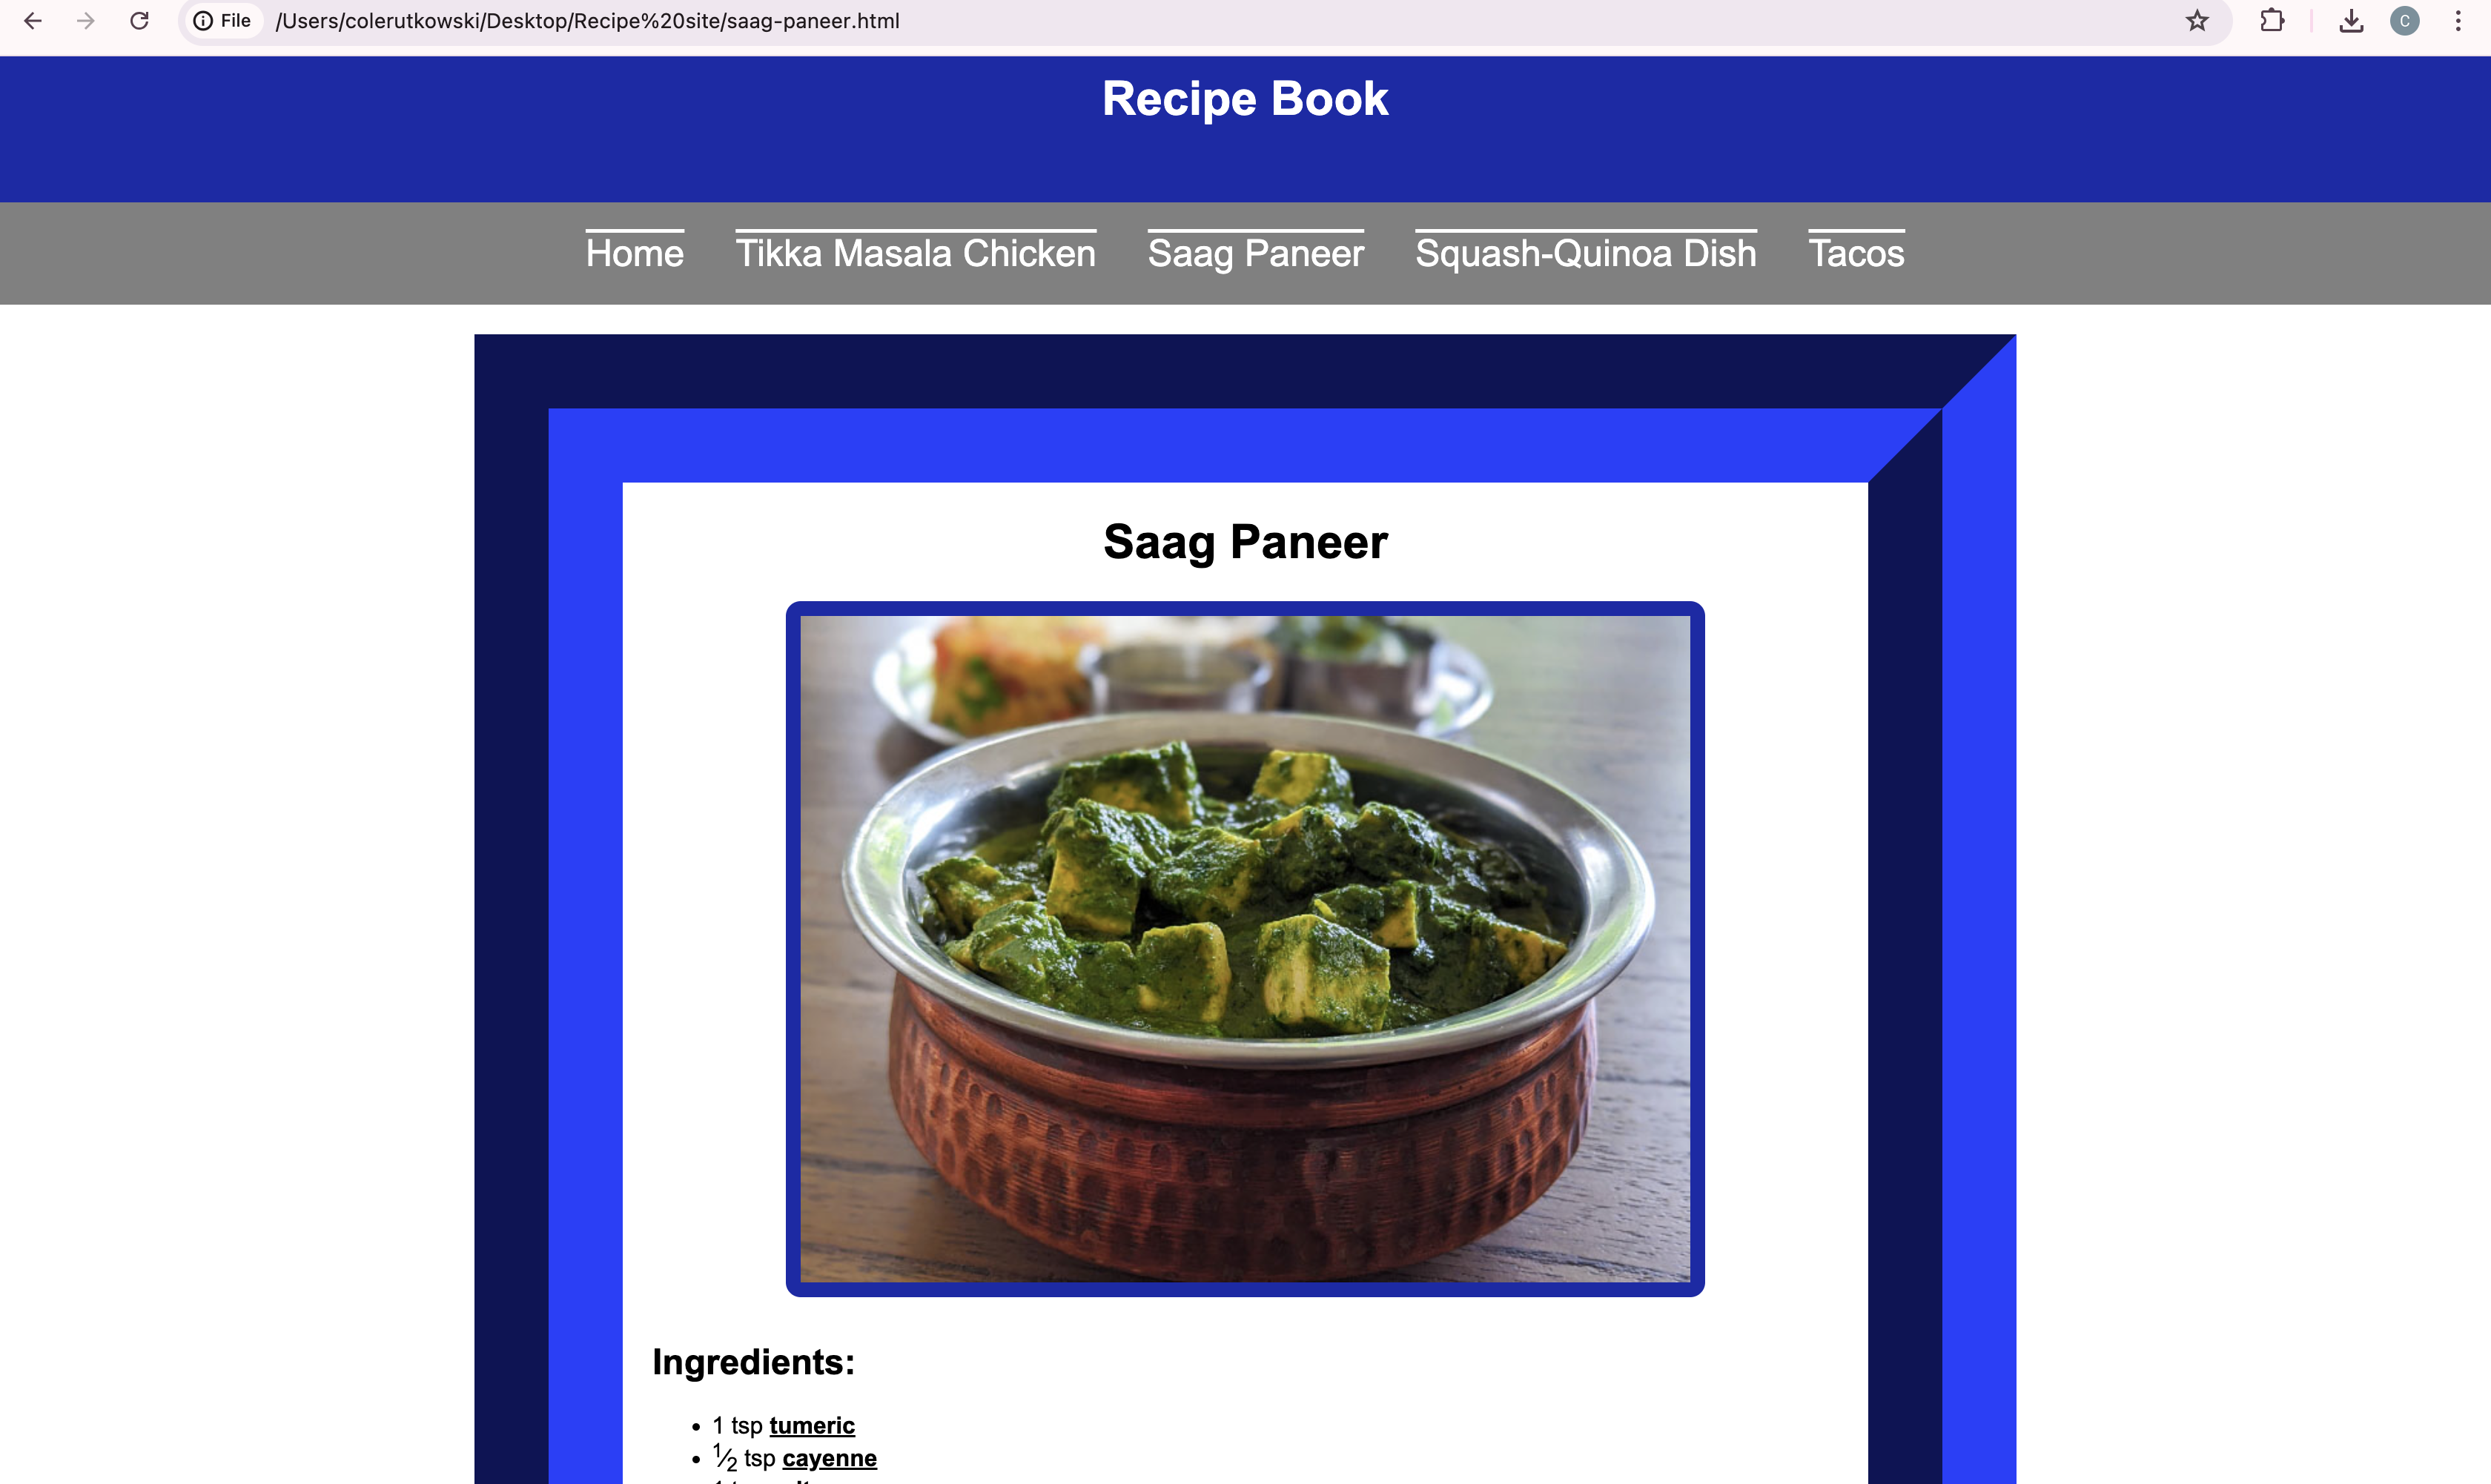
Practice Site
Example Recipe
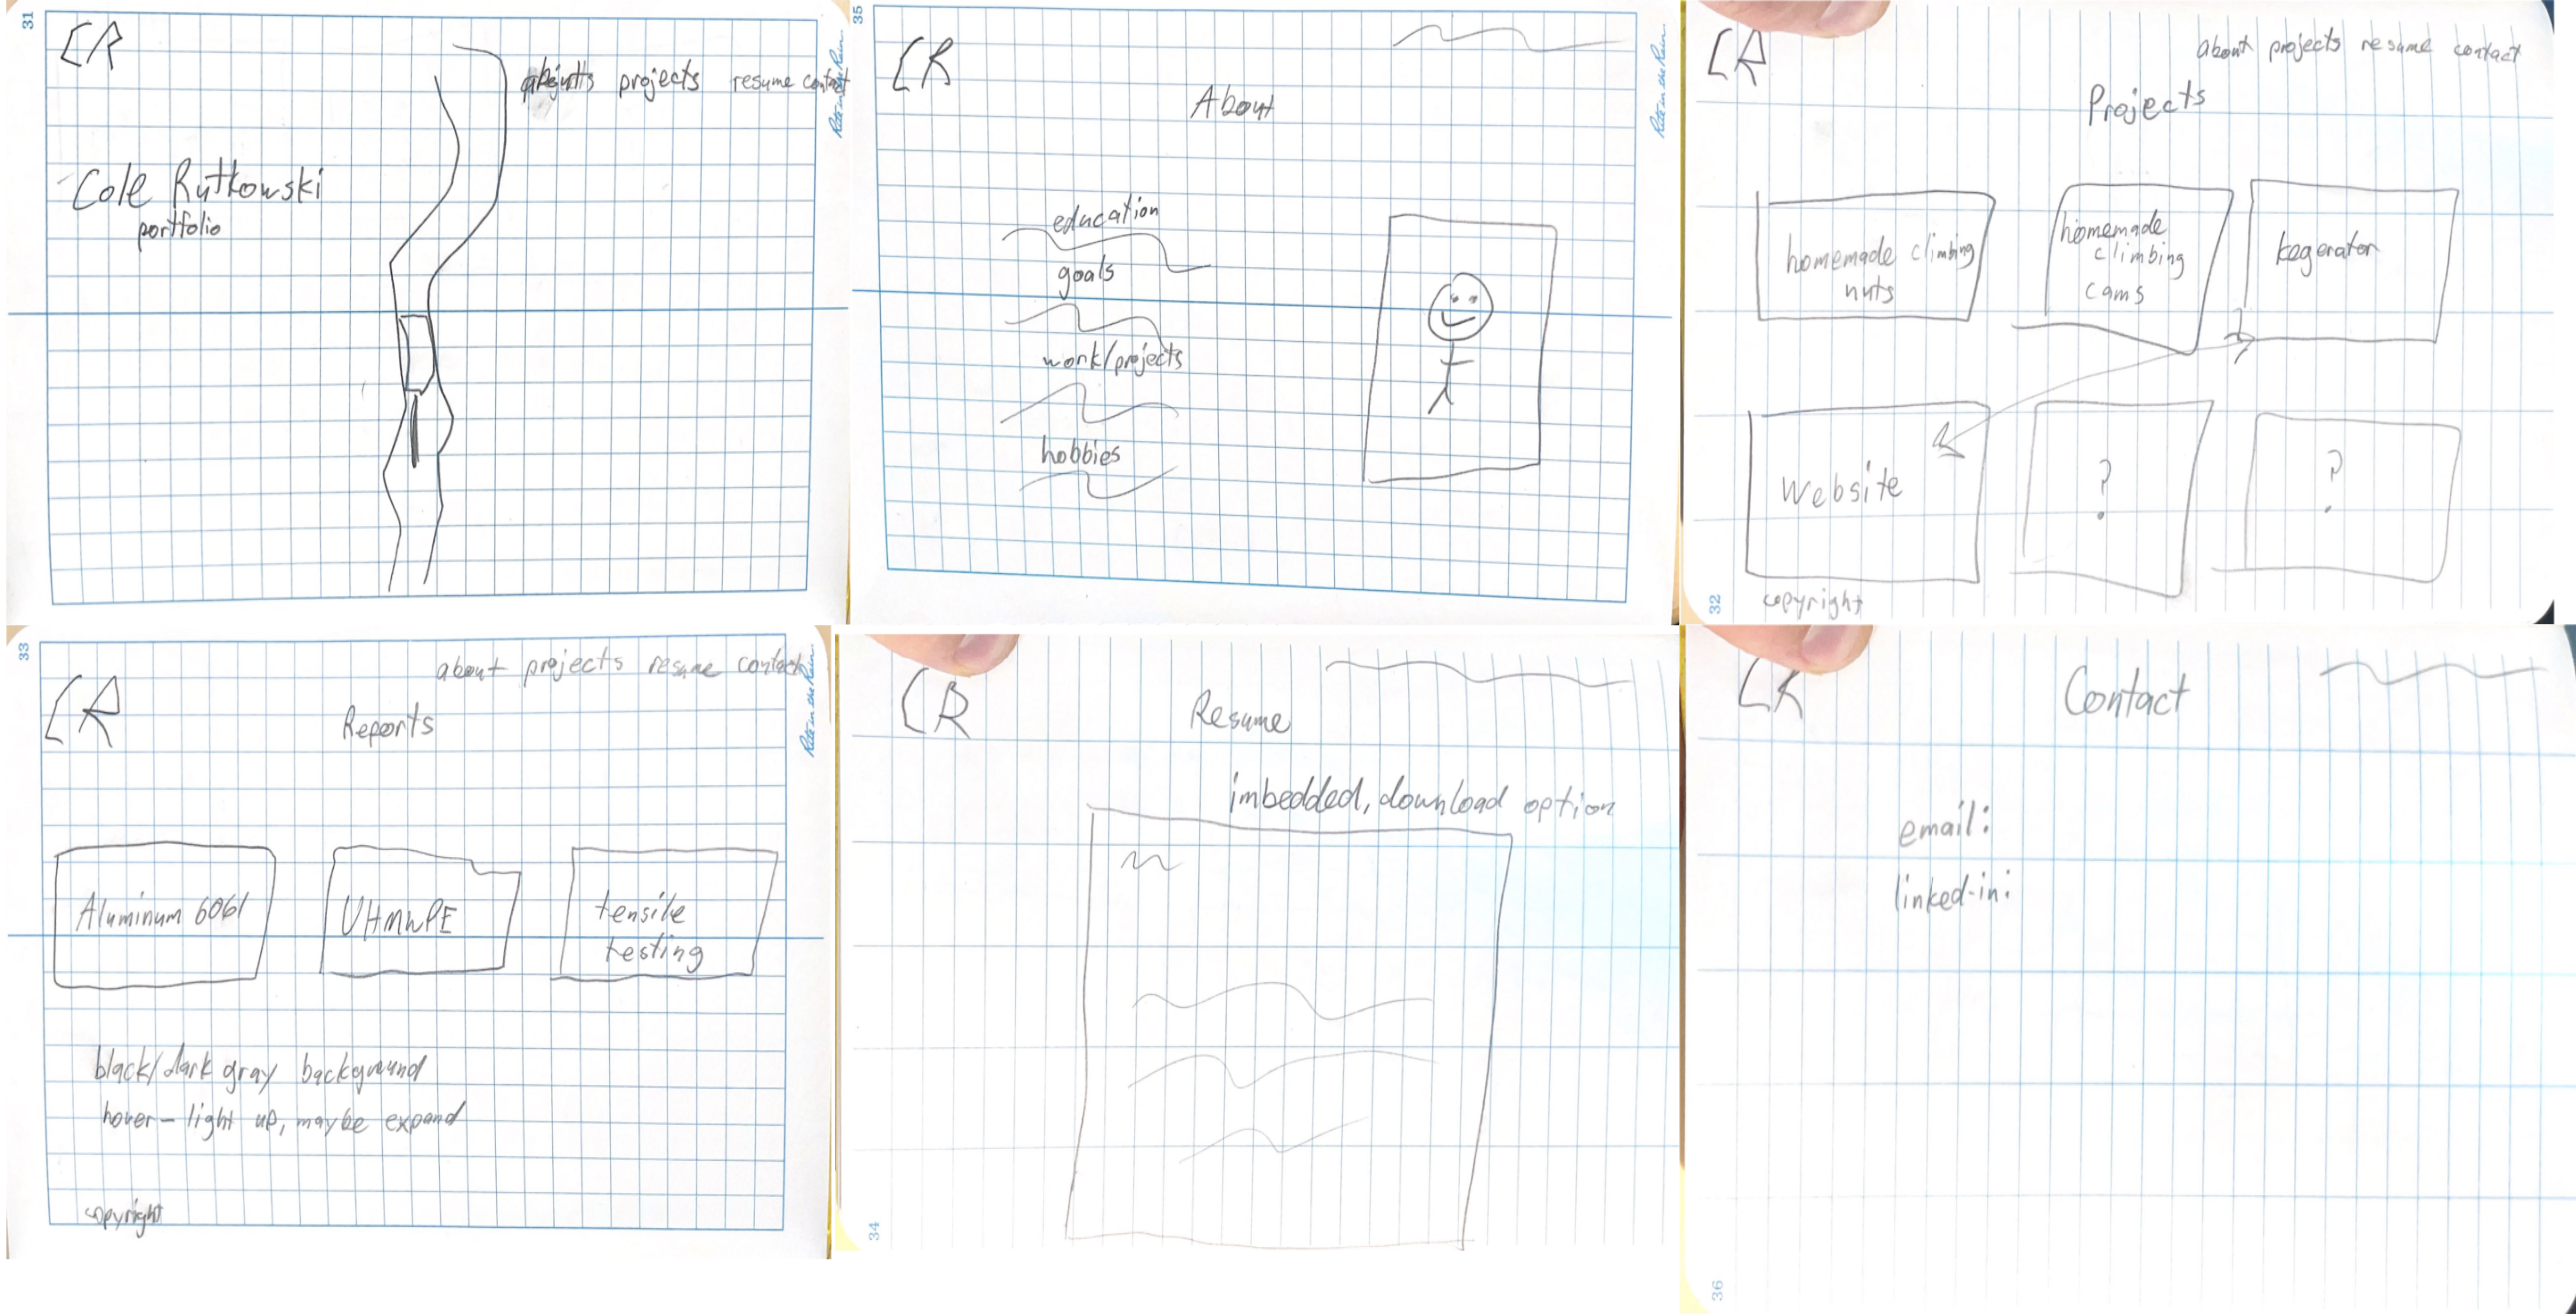
I started my website with a paper sketch of the. I wanted to present the user with a cool cover picture before letting them navigate to my pages for about, projects, and contact. I also wanted a little logo at the top left to take them back to the home page and a LinkedIn link at the top right. My first goal was to get an outline for the site before I could enter all the content. I spent a good amount of time making outlines for all the different HTML pages, even more time styling it to my liking with CSS, and even even more time rewriting all the code so it could work with different size screens. I used placeholder images and text in my outline so when I was ready to enter my own projects, I could just replace the placeholder information.
Portfolio Sketch
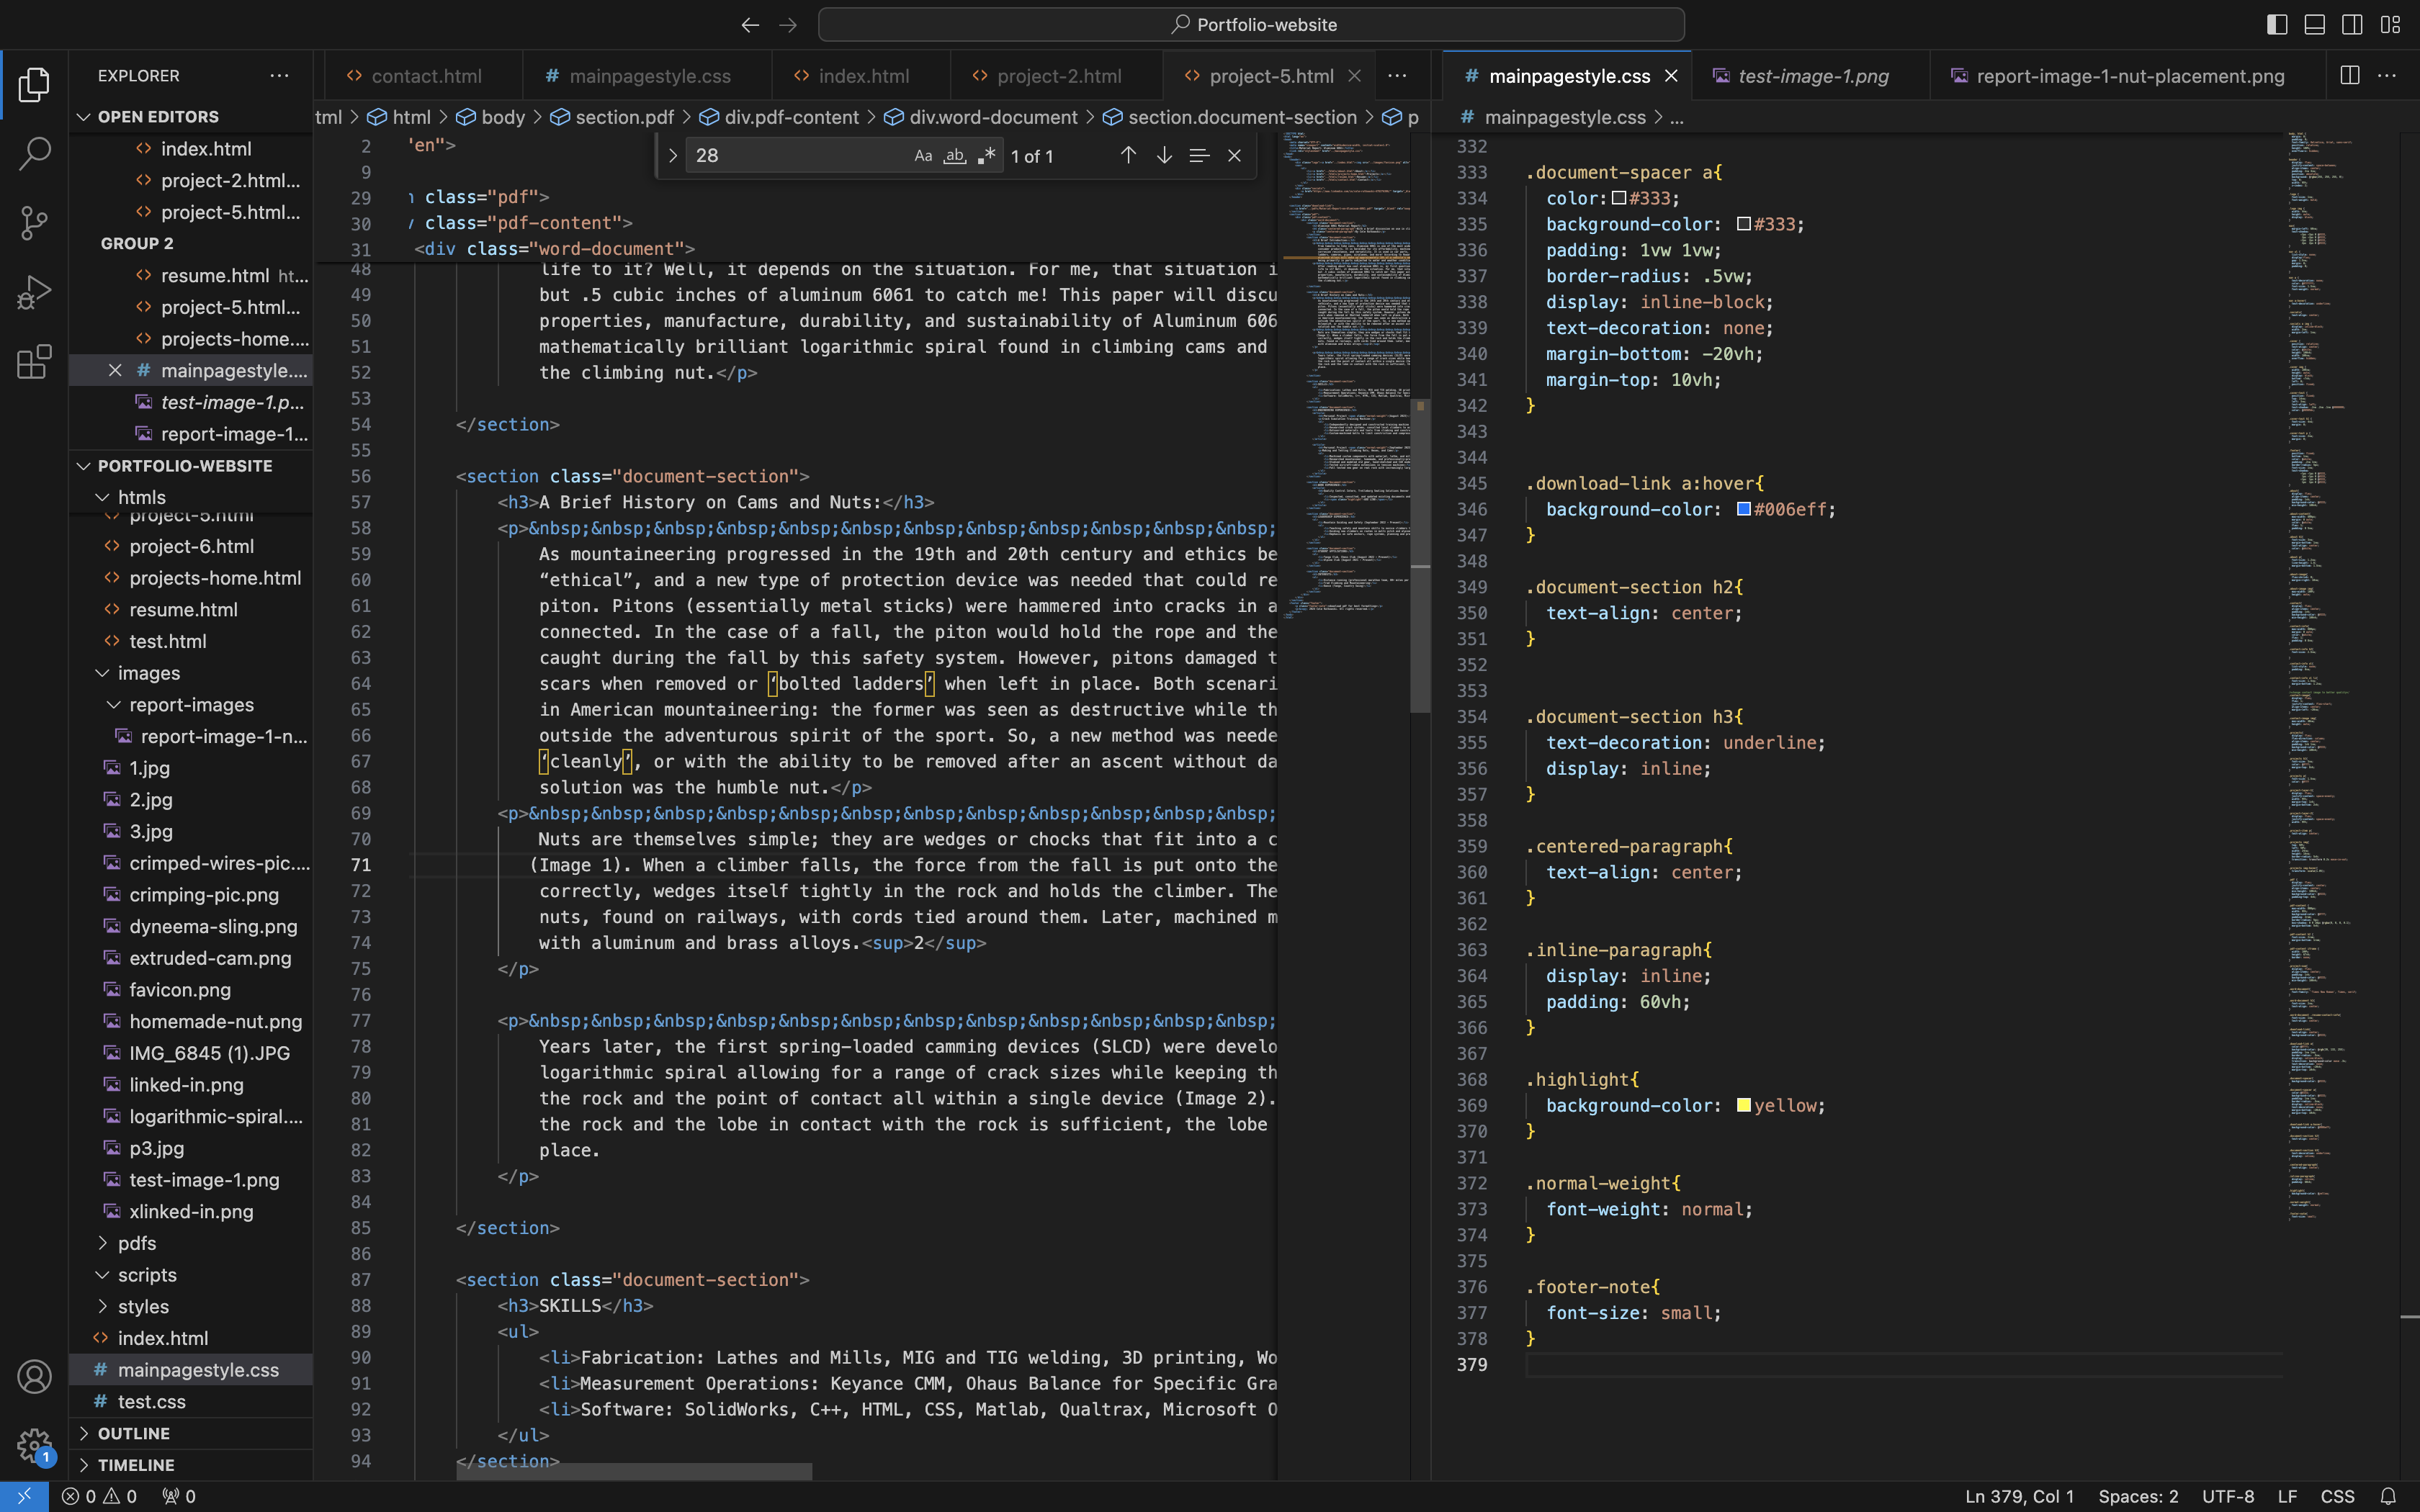
I started with putting my material reports, which I had written in a previous class. These were by far the most challenging entries, as I did a lot of manual formatting for every element in the report. Entering and sizing every image, header, paragraph, list, and citation link was a challenge the first time I did it, but by the second report I had become familiar with the process and was much more efficient. This experience also made it way easier to enter later projects, so I am glad I really dove in with the hardest entries first.
The Code Comes Together
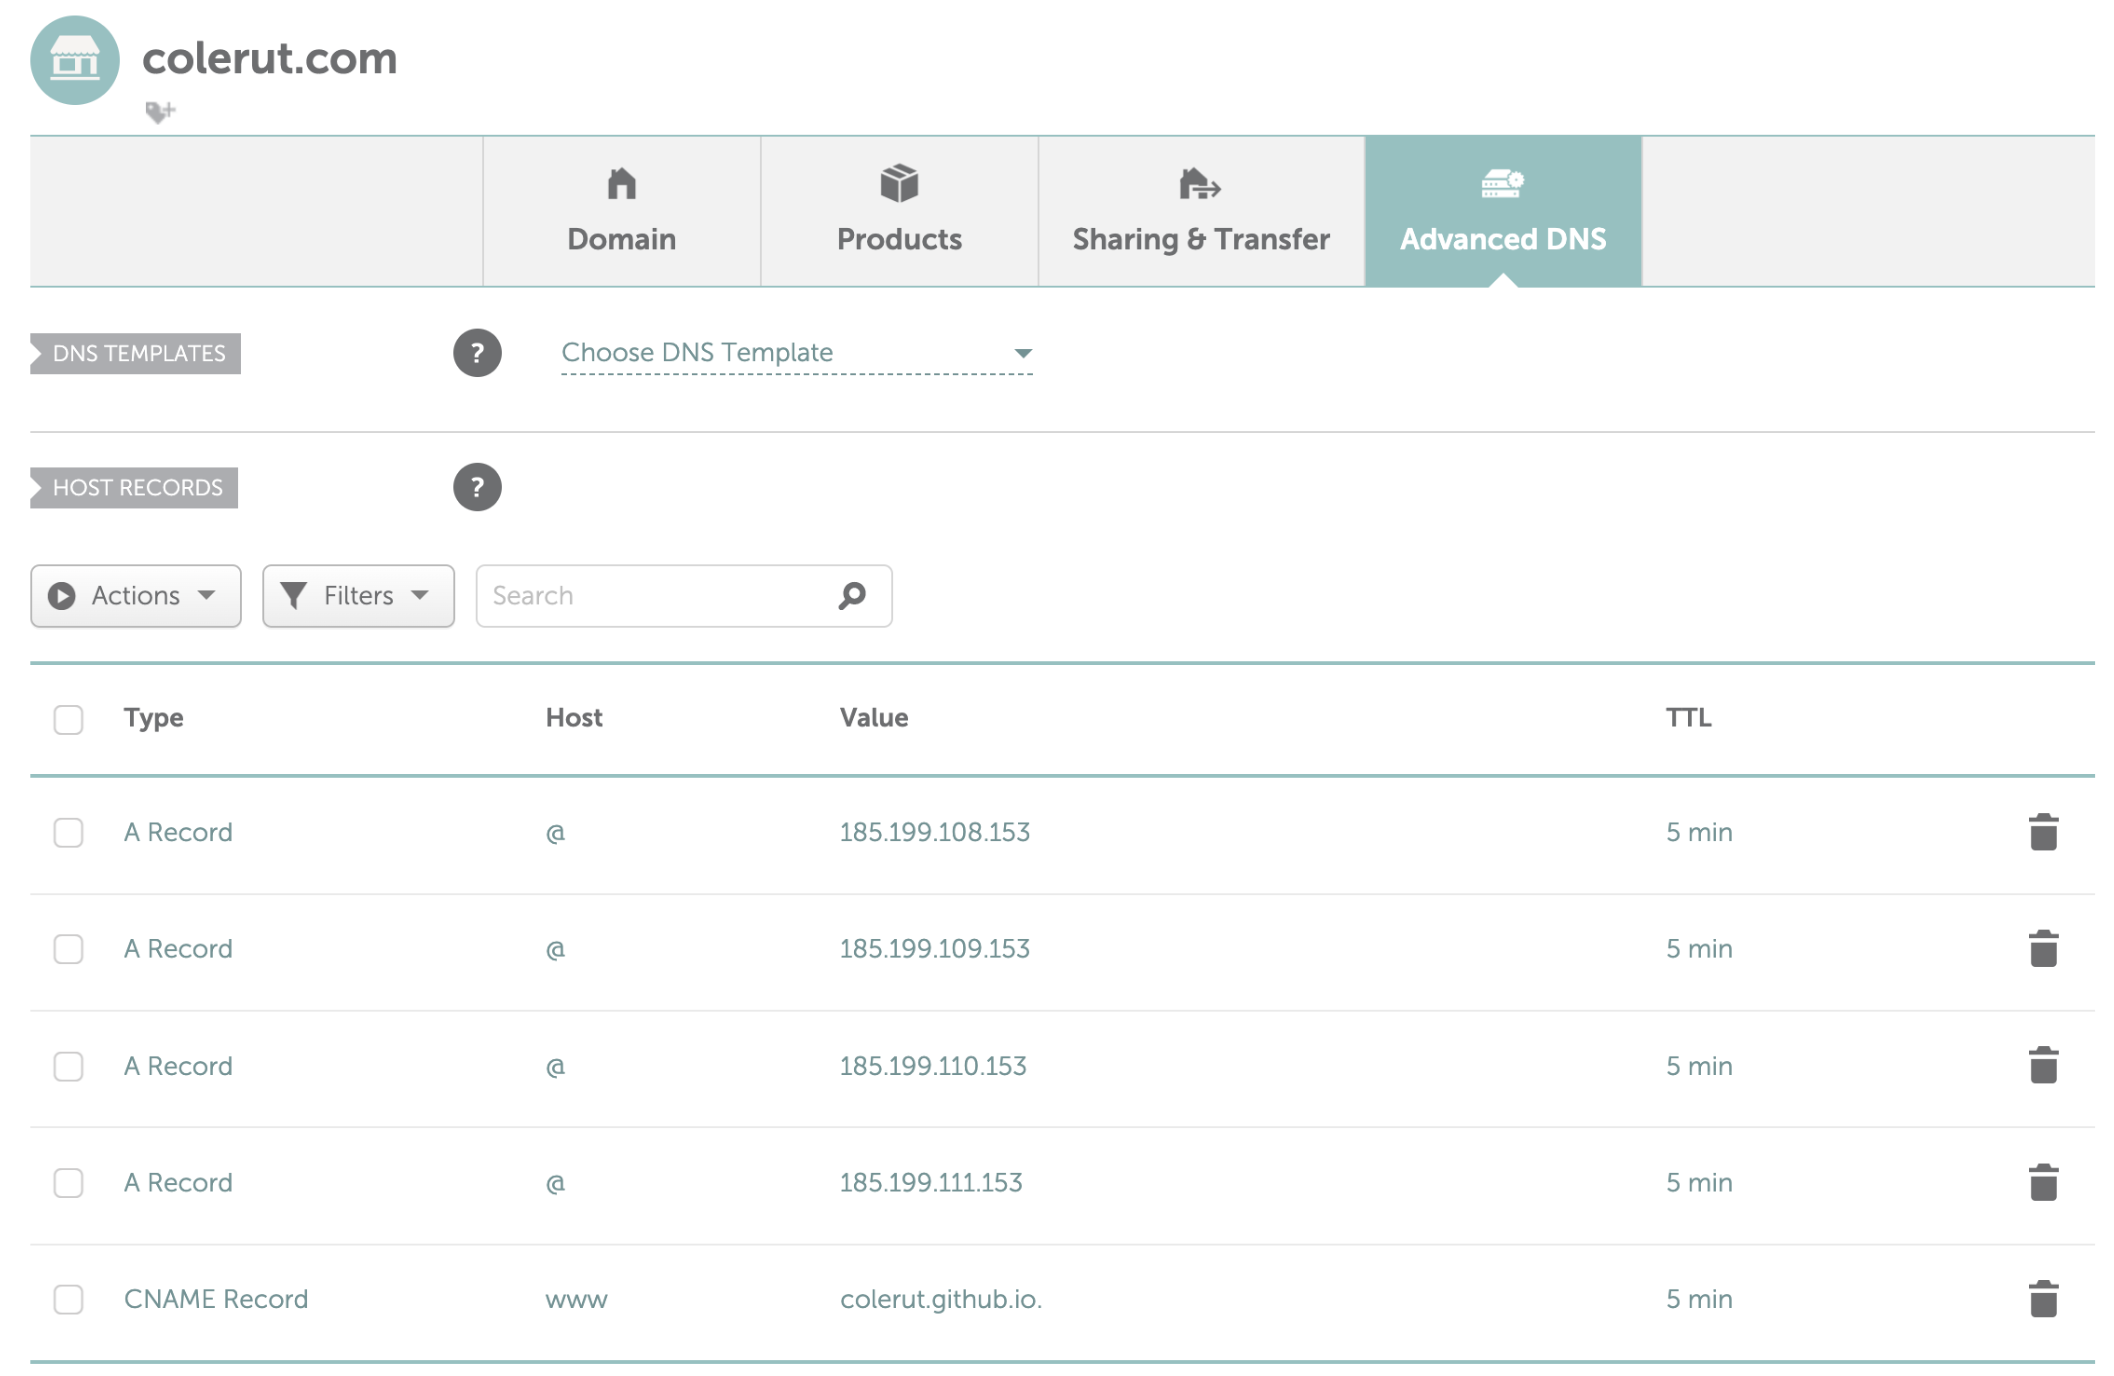
The final challenge was to get my website online. I watched a bunch of youtube videos and read several forums and websites explaining how to publish my site. The easiest and cheapest solution was to use Github Pages. I made an account, created a repository for my portfolio, and transferred all my files to it. I then used Namecheap to purchase a domain name (for only $6.16/yr!) and set up the DNS records to link my domain name to the host site on Github. Finally, my website was online and operational!
Buying Domain Name

Setting Up DNS Records
Github File Organization

I really enjoyed coding this site. It was a great opportunity to learn new coding skills and brush up on old ones. I am excited to present all my work on this, and it means a little bit more to me knowing I made everything myself. I hope to occasionally update this site, and it’s possible I will do a fully revised version of this in the future. I like the basic/amateur look of the site and I think it reflects my current skill level at the time of writing this. If I could improve on anything, it would be my CSS skills and organization. In the future, I would love to implement JavaScript and date all my entries. In the end, I think my website is pretty cool and that’s all that matters.